While building Nirvana’s iPad app I revisited some of the decisions made working on the iPhone version. This time around, decided to go with a more event-driven design.
Titanium has a global event system, so on the surface that would seem like a good choice. Just use Ti.App.fireEvent/addEventListener and you’re good to go.
There are a couple of things I wasn’t happy with using Ti events:
- There seems to be some overhead associated with using Ti event system. Any data you pass has to cross the Kroll-bridge.
- You can only pass ”JSON-serializable data when firing events”. So this means no passing around Ti objects when firing events manually.
- You always need to pass in a callback object for removeEventListener. You can’t just remove all events for a type.
I decided to give Emitter a try, from the Component library. It’s fairly straight-forward to use.
I whipped up a little example test script to compare use of Emitter vs Ti events. Speed wise, Emitter runs the 10000 events faster than the Ti events.
With any choice there are advantages and disadvantages.
- In the example code, if you up limit, ie: 100000, there’s a good chance, you’ll blow the stack - so that’s something to be aware of. You can wrap the event.emit in a setTimeout(f, 0). In that case, the performance is on par with Ti’s event system.
- One advantage of using Emitter is you can actually pass around Ti objects and functions. Since we’re not going over the bridge, you can pass pretty much anything, as opposed to only serializable data. This makes it more straight-forward to decouple the pieces of your app.
eg: I use a popover, which is shown from a main controller. You can then dive further into the details, and make edits. Rather than keep track of the popover on a global and use it directly when needing to add/remove a view from different areas, the popover just listens for ‘popover:add’ & ‘popover:remove’ events to add/remove views. And the TiView itself is passed around as part of the event data. No global juggling involved to get a reference to those views. - The callbacks are executed immediately. That can be a benefit or a drawback, depending on how you use it. I’ve found it helpful to be assured of some events happening in sequence, especially when dealing with timing & redraws in Titanium.
Something wrong? Something right? Let me know in the comments.
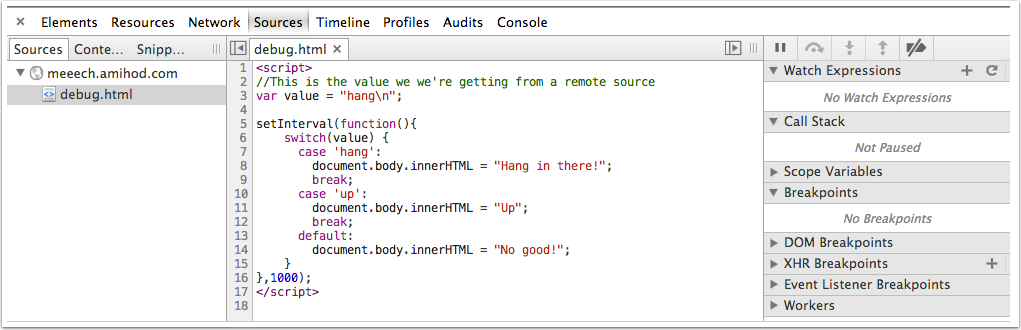
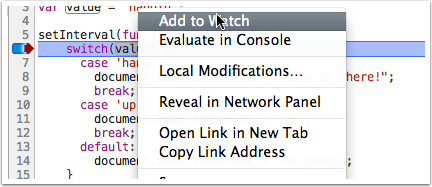
 Pretend
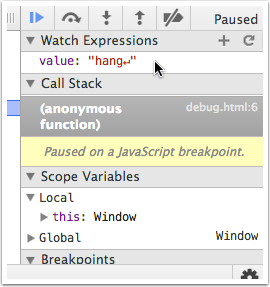
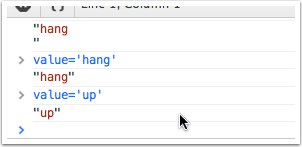
 A console should open
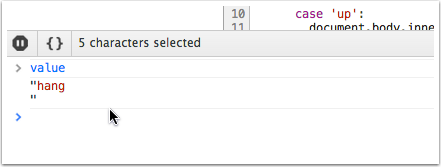
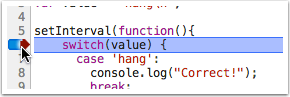
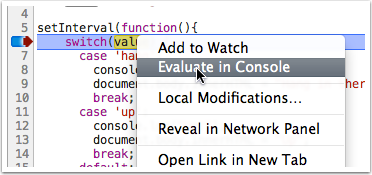
 You should now see “Hang in there!” on the page, and the script will pause again at the breakpoint. This time, put